
This guide will show you how to kick-start your 7 Days To Die server.
1. Login to your Game Control Panel.
1. Login to your Game Control Panel.
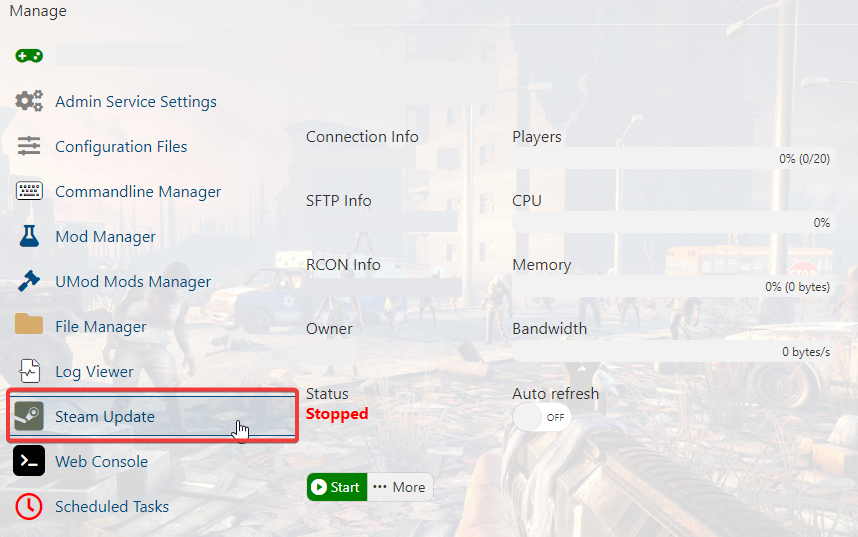
2. Make sure to update your server by running Steam Update.
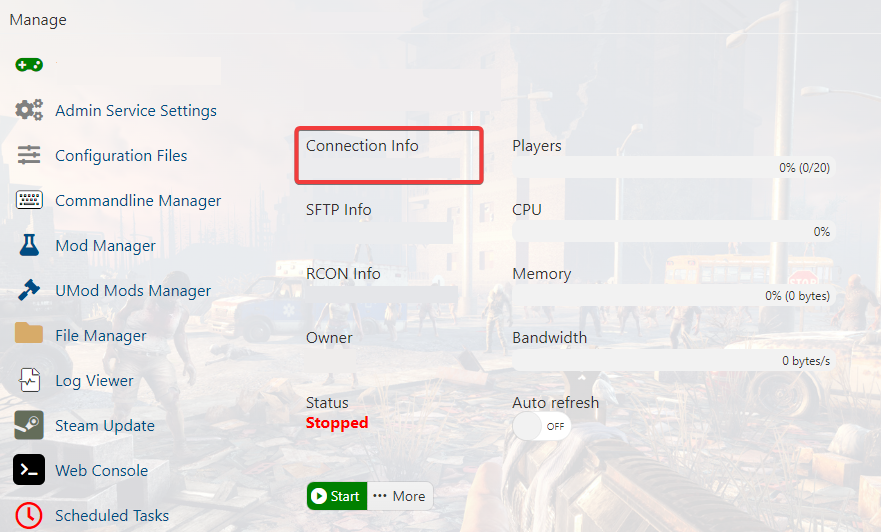
3. Copy the Connection Info IP/Port listed.
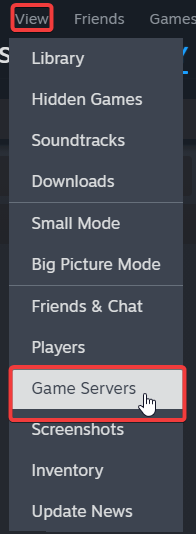
4. Open Steam. Click the View tab, then click Game Servers.
5. Click on the Favourites tab, then click + sign and Add Server.
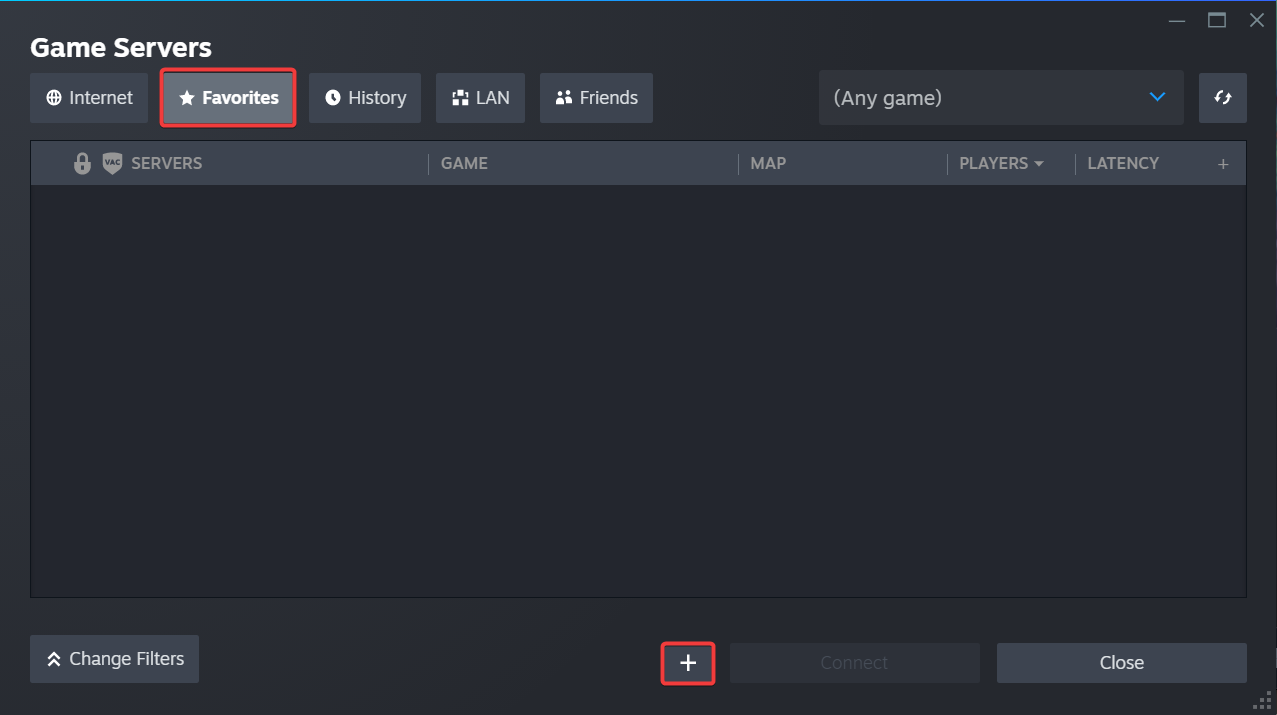
6. Paste in your server's Connection Info IP/Port.
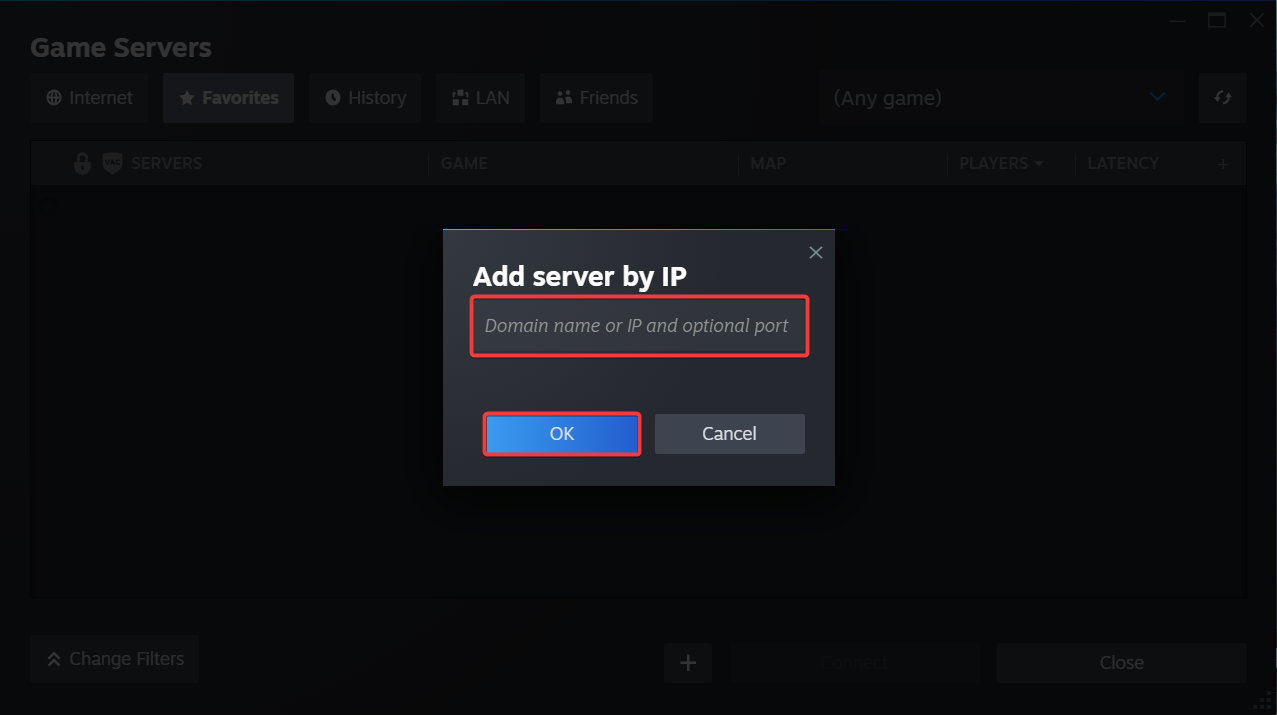
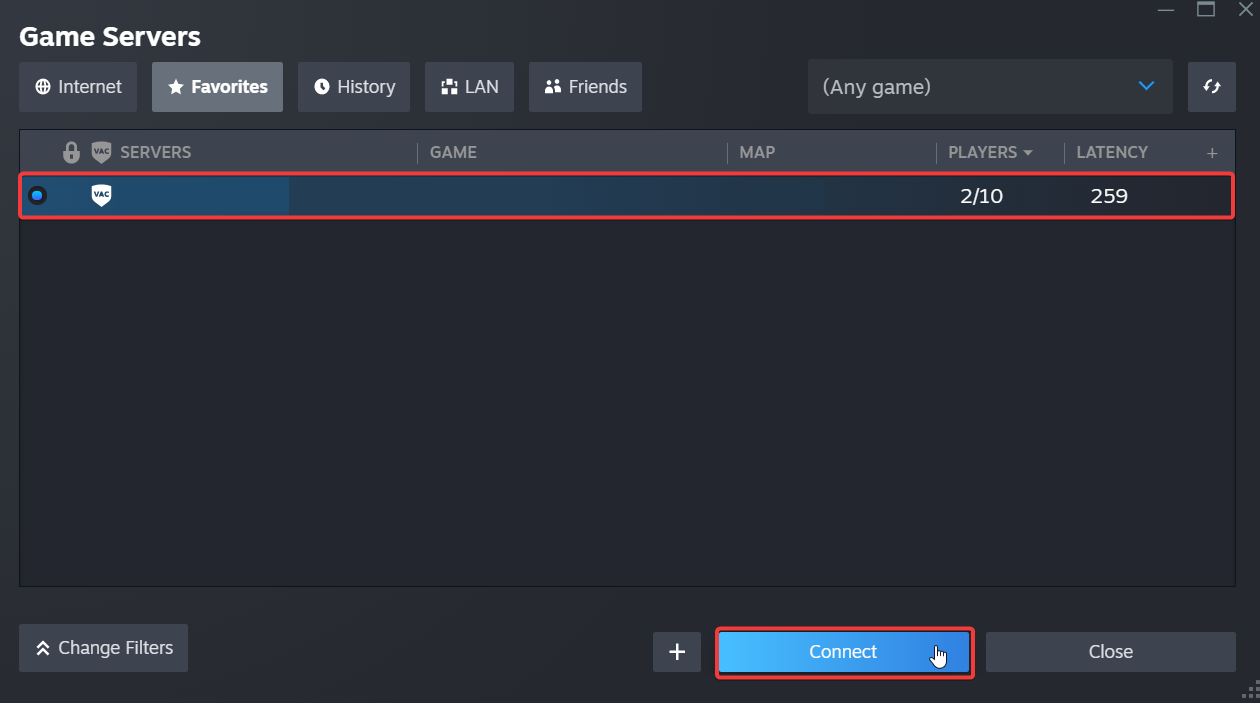
7. Click Connect.
Did the above information not work for you?
Please click here to contact our support via a ticket.
