
1. Log in to your Game Control Panel.
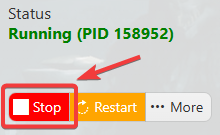
2. Before making any modifications, stop the server from running by clicking the Stop button.
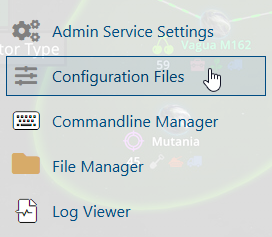
3. Navigate to Configuration Files.
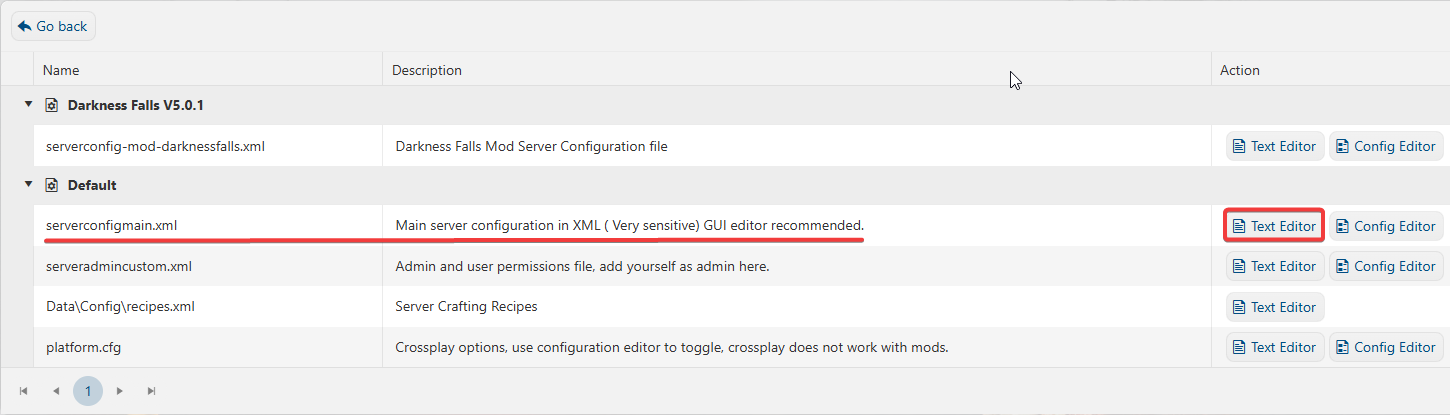
4. On the Configuration Files, you will see the serverconfigmain.xml file which is the General Server Config. Click the Text Editor.
5. On the Text Editor, Scroll down to the World section in your server configuration. Locate the GameWorld and GameName fields and update them accordingly:
GameWorld - defines the name of the generated world you wish to load.
GameName - specifies the name of the save file associated with that world.
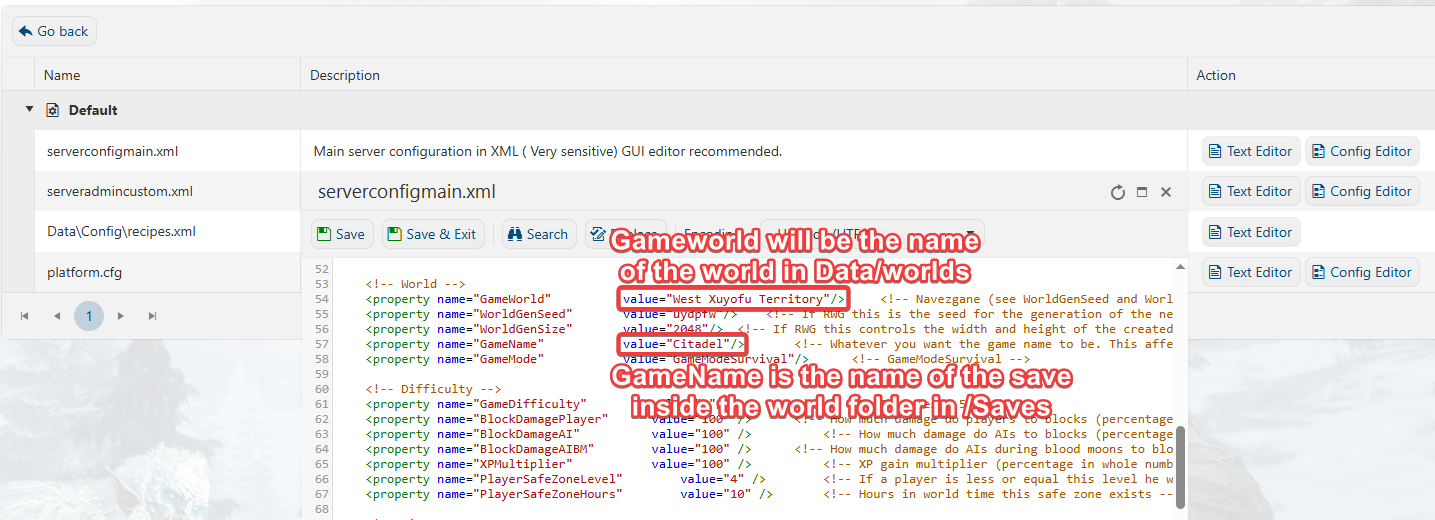
Make sure both values are set correctly to ensure the server loads the desired map and save data.
6. After editing, click the Save button to apply the changes.
7. Start your server and test to see if the world loaded.
Please click here to contact our support via a ticket.
