Click here to order your V Rising server today with Citadel Servers!
V Rising offers a feature of in-game voice chat, making the game more immersive and fun when you encounter other vampires in your server. Read this guide to learn how to enable this feature in your game server!
How to Set up Voice Chat on a V Rising Server
1. We will be using Vivox: In-Game Voice Chat App Software by Unity. Create an account or sign in (if you already have an account) for the Unity Dashboard.

2. Once you've logged in, click on the shortcut for Vivox Voice and Text Chat which should be on the left hand panel. Doing so will prompt you to create a Project.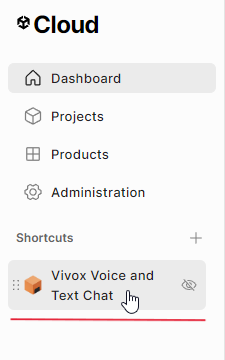
3. Enter any name, leave the next box as "No", and press the Create button to confirm.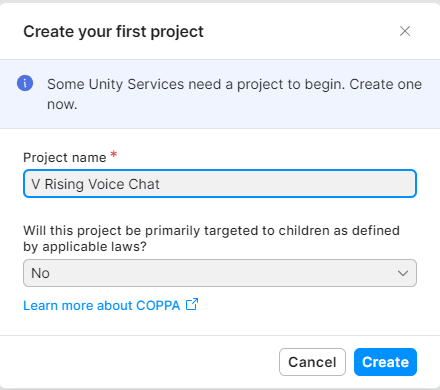
4. Click on the shortcut for Vivox Voice and Text Chat again.
5. You will be taken to a Setup Guide. For the first step, make sure Unity is selected, then press Next.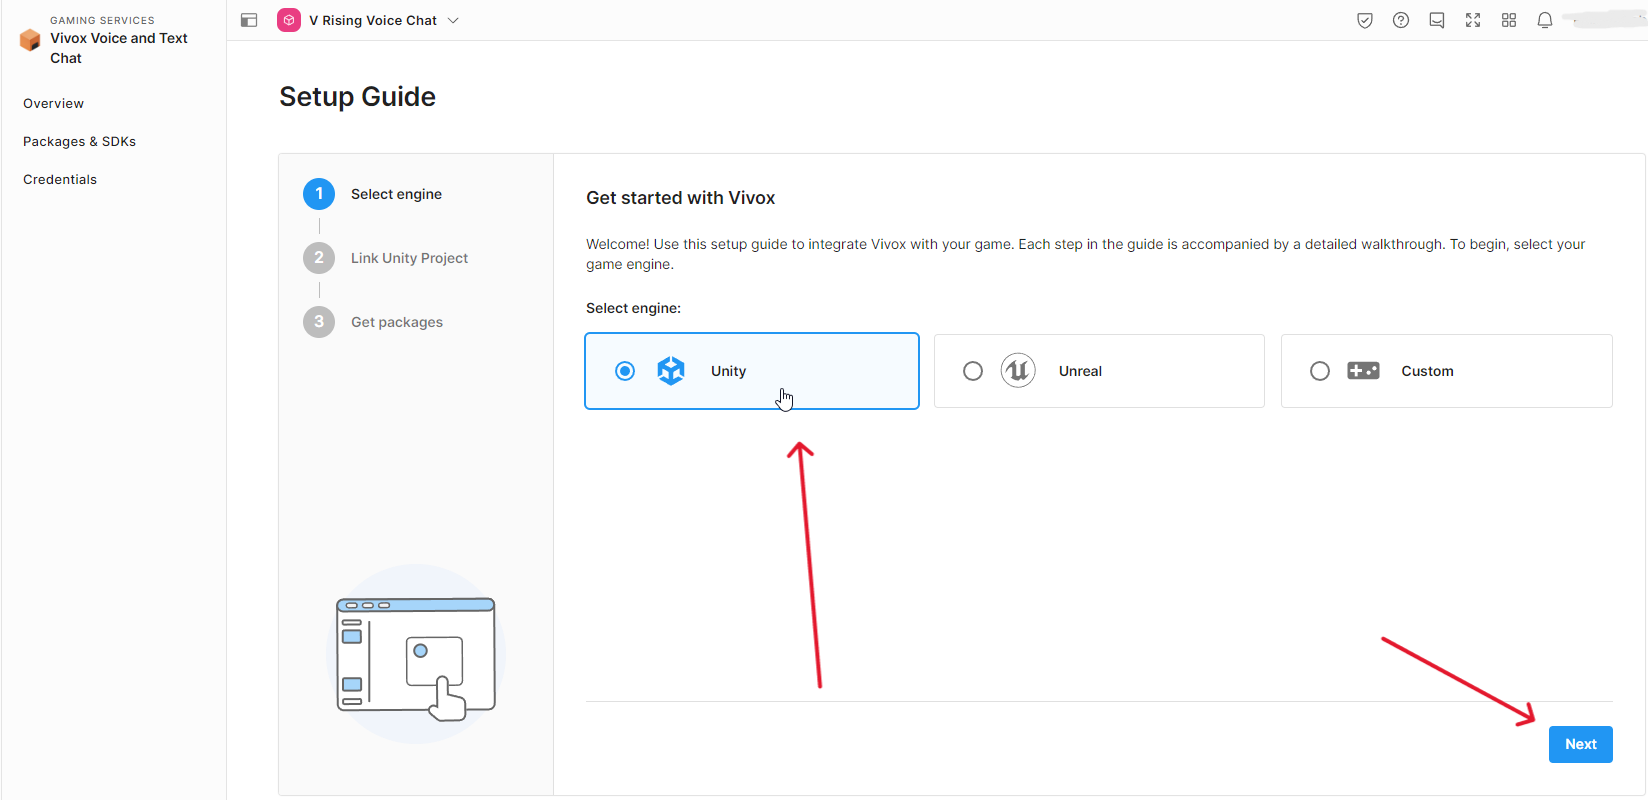
6. Skip this step by pressing Next.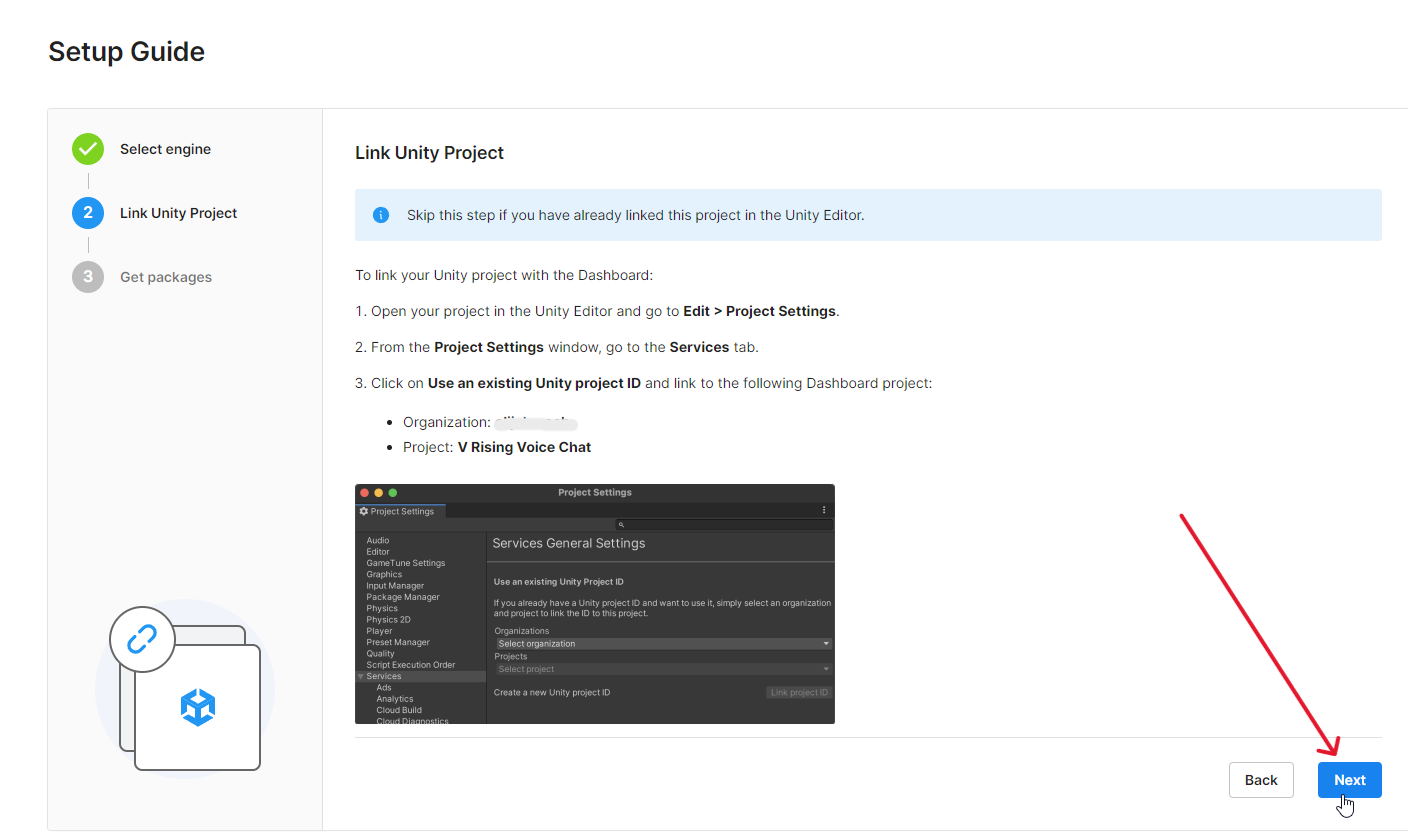
7. Skip this step as well, and choose Finish.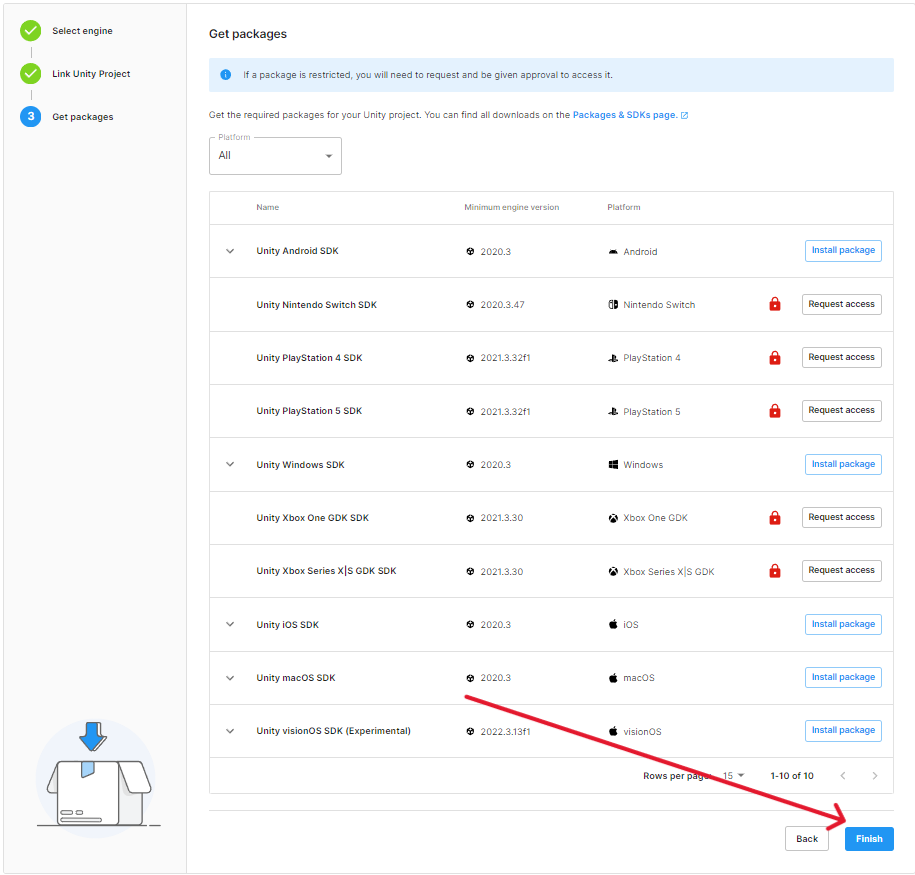
8. Go to the Credentials page under Voice and Text Chat. Keep this page open in a different tab for you to copy and paste from later in this guide.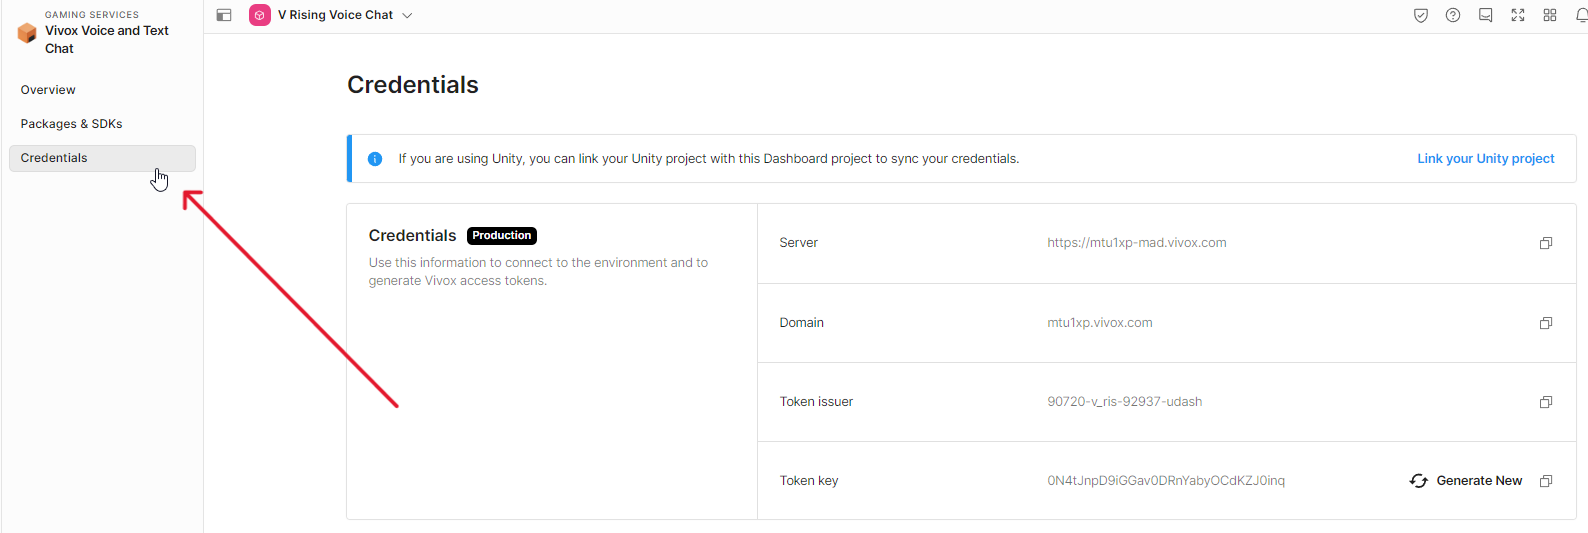
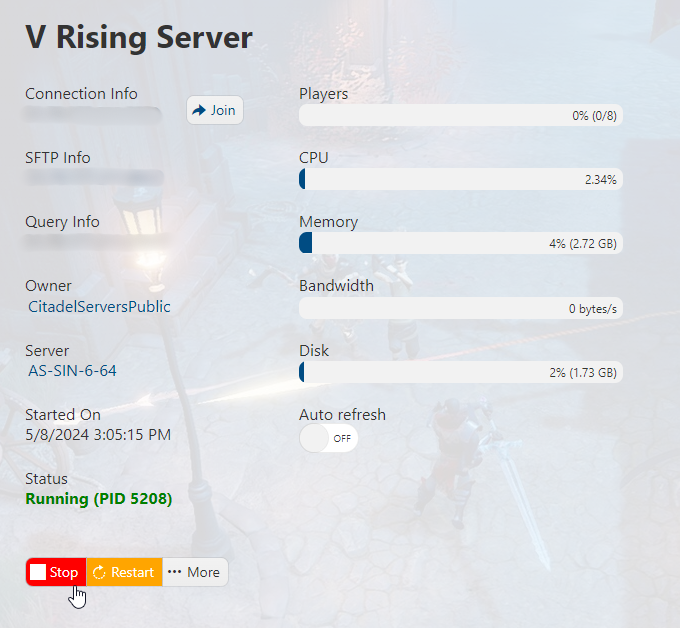
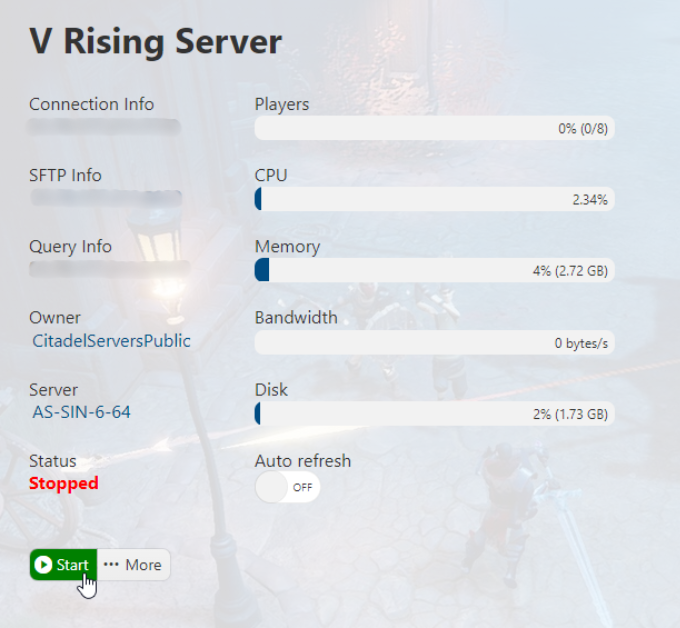
9. Login to the Game Panel (click this link for easy access) and navigate to your V Rising server. Make sure the server is not running by pressing the "Stop" button.
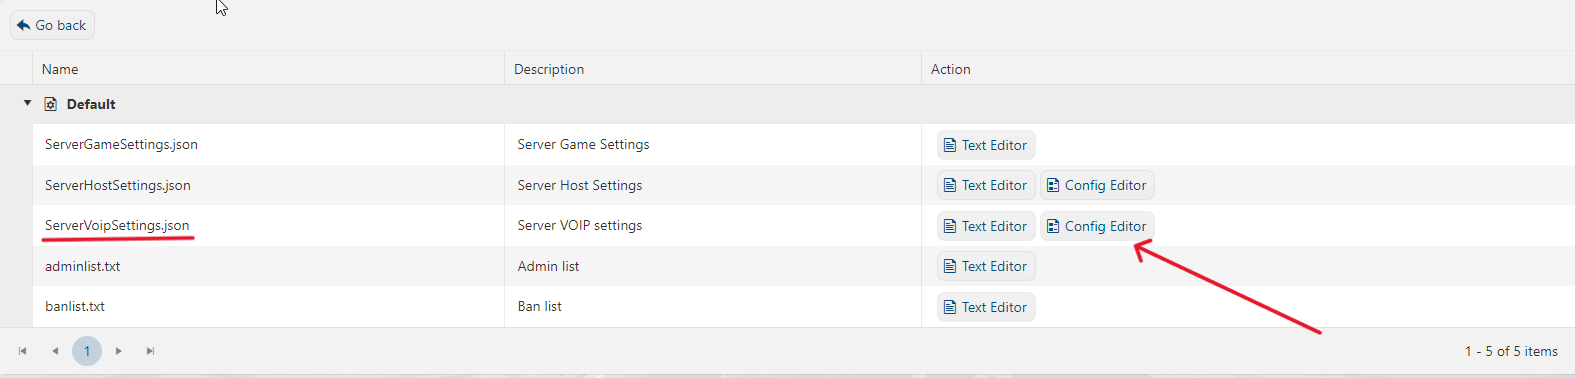
10. Once you have done this, navigate to the Configuration Files section.

11. Click on the 'Config Editor' option next to ServerVoipSettings.json.
12. Set Enable VOIP from False to True.
![]()
13. In the texbox next to VOIPIssuer , input the info next to Token Issuer on the unity dashboard.![]()

14. For VOIPSecret , input the info next to Token Key on the unity dashboard.![]()

15. For , input the ID that you used when creating an account for Unity.
![]()
16. For , input the password that you used when creating an account for Unity.
![]()
17. For VOIPVivoxDomain , input the info next to Domain on the unity dashboard.
![]()

18. For VOIPAPIEndpoint , input the info next to Server on the unity dashboard.![]()

19. Press Save & Exit once you're done with inputting all the info.
20. Navigate back to your Game Service and press the "Start" button. You may now connect to your newly configured V Rising server!
21. VoIP will now be enabled on the server. Connect to your server to set Voice chat up.
22. To use VoIP in-game, make sure to enable Auto Join Voice Chat and Push To Talk in the Sound settings. Have fun talking to fellow vampires in your V Rising server!
